Thirty-four years – that’s how long the average adult will spend staring at a screen in their lifetime.
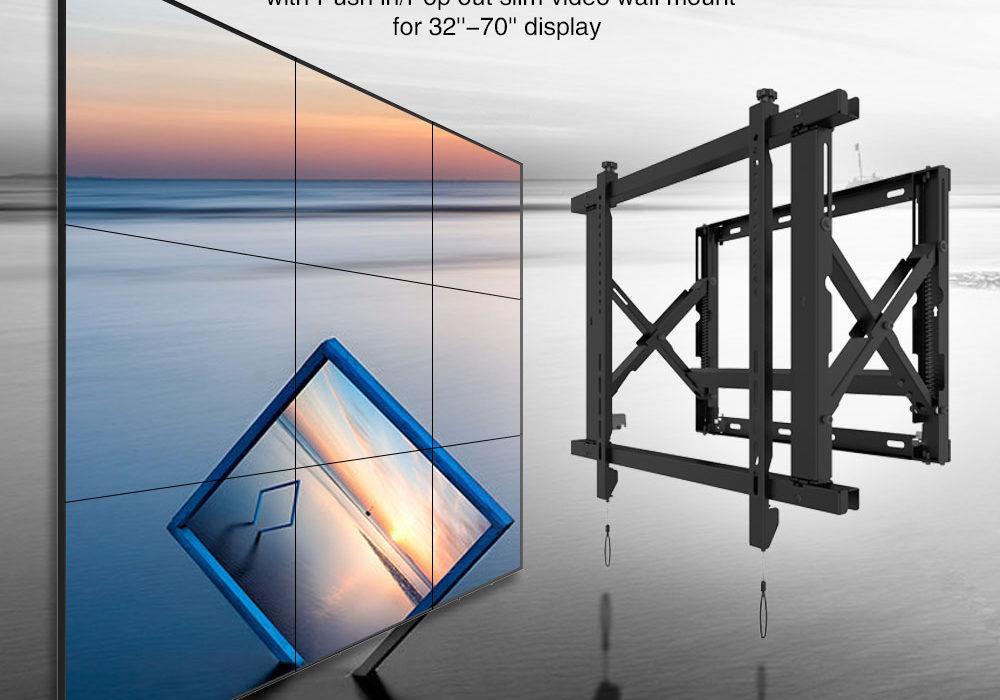
You can use the world’s affinity for screens to your advantage, whether for yourself or for your business. Build a video wall to draw eyes to multiple pieces of media that you want to share — or want to see yourself.
Of course, you can’t create a video wall without installing a few screens side by side by side. You just need to get a few video wall mounts and learn how to adhere them to the wall.
We can help you with that. Here’s how to mount a TV on the wall as part of your video facade.

Know What You Want First
Before you can helm your wall-mounted TV installations, you need to know how you will use the wall.
Will you use each screen to display something different? Or do you want a single picture stretched across multiple TVs?
To do these things, you’ll need more than just a wall mount for your TVs. You’ll also need to install a video wall processor, which can help you set the positions and sizes of what you play on each screen.
Let’s say you want to draw media from different sources, such as streaming data, 3D, computer data, etc. You will need a multi-window processor to make this vision a reality.
You will need to know beforehand if the wall will be interactive, as well. It’s easy to figure this out. Will you touch the screens to move content around or pull and stretch it to different screens?
Answer these questions before you learn how to mount a TV. You need to come up with a plan of action before you start with the physical labour.
Choose the Right Mount
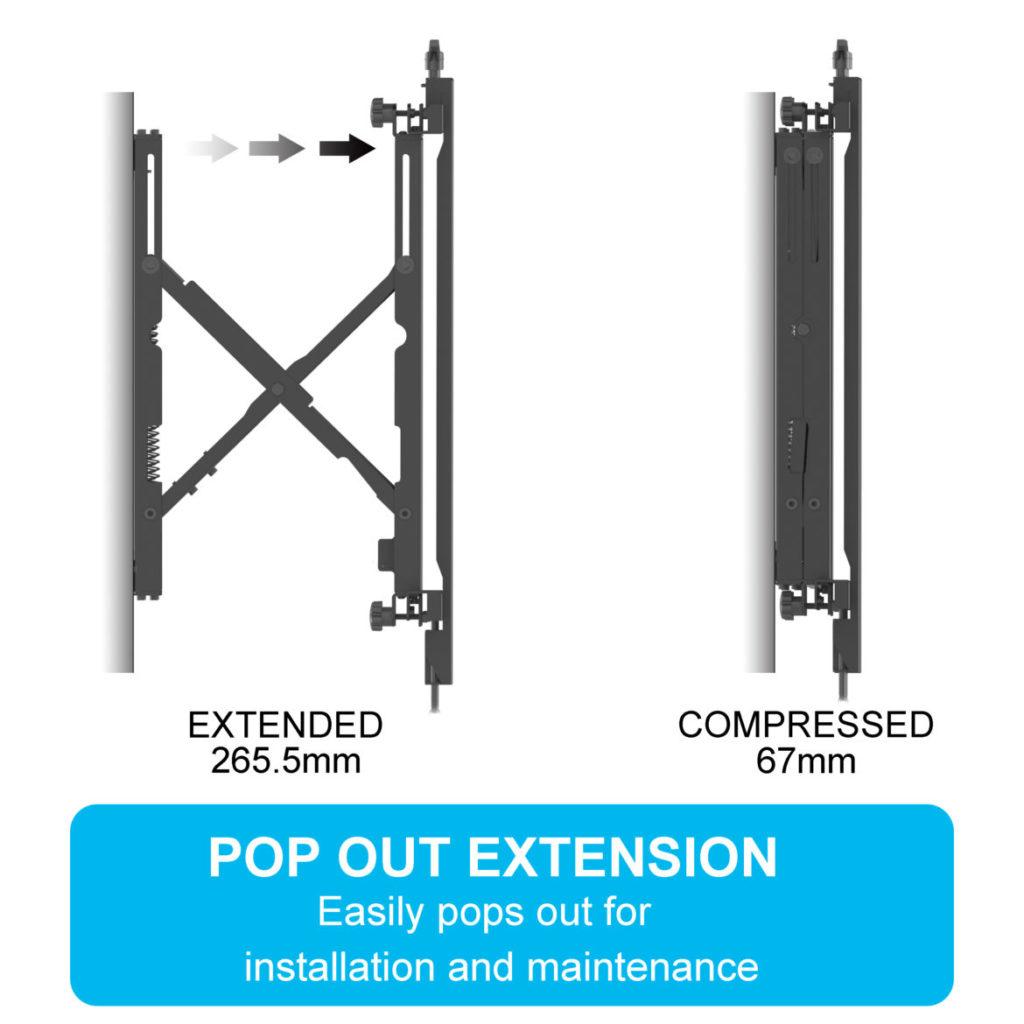
Now that you’ve designed your video display and created the content to fill it, you can move on to selecting your electronics. You can also choose the wall mount to hold everything in place.
The structural integrity of your wall-mounted TV installations should be of the utmost importance. You don’t want it to crumble and fall on someone down the line.
So, choose a mount with replaceable parts. Even a high-quality system will lose its strength over time. If you can replace parts, though, you can maintain the structure for as long as possible.
The wall needs to be strong, too. So, have a pro inspect the structural support behind the wall where you want to install a wall-mount display.
Ventilate the Space
You can’t hang your video wall mount in a space without ample ventilation. Think about it: lots of TVs will create quite a bit of heat that needs somewhere to go. Otherwise, it could spell trouble for your display.
So, choose a spot that gets plenty of airflow, or create the ventilation yourself with fans and vents. This step is crucial in your planning because it will likely factor into your budget and bottom line. Count it into your costs or risk running out of cash mid-project.
Check the Electrical Supply
You’re hanging up a bunch of new TVs. How will you power them all?
Make sure you have the wattage to run a video display through your wall-mounted TVs. On top of that, safeguard your new TVs with a surge protection system, just in case there’s unexpected flux in electricity.
Mount the TVs
Now that you’ve done the groundwork, it’s time to hang your TVs.
Your best bet, of course, is to hire a professional to take care of this job for you. This tip is especially true when it comes to wall mounts.
A pro will know how to level everything out so your TVs are evenly spaced. The technician can also take care of the preventative steps as listed above. They’ll check the ventilation, set up surge protection and more.
However, if you want to hang your video wall mount on your own, here are the basic steps to take:
1. Map Out the Wall First
Need help visualising your wall-mounted TV installation? Use paper.
Yes, you can — and should — cut out pieces of paper the size of your TV(s) and hang them on the wall where you want the screens to go.
This will help you hang them at the perfect height. Plus, you can level off and space out your cardboard papers so that your TVs will hang this way, too.
2. Find the Studs
You will want your TV wall mounts to hold onto a stud for added support. So, find the studs in your walls and mark them so you can hang your mounts safely and securely.
3. Mark the Pilot Holes
Align the pilot holes on your mount to the stud. Mark the two holes at its center, where you’ll attach the mount to the support beam.
Rely on your level for this step so that your markings are balanced — you don’t want to realise you have one crooked TV after you drill holes.
4. Hold Up the Mount
Don’t drill anything yet. Instead, use your markings to align the mounting hardware to the wall. You might need a second set of hands to help you with this step so you can check levelness before reaching for your power tools.
5. Drill the Pilot Holes
Now that you’ve double-checked your levelness, it’s time to make your wall-mounted TV installation official. Drill into the pilot holes you’ve marked onto the wall.
6. Attach the Mount
Your second set of hands will help here, too. They can hold the mount whilst you drill it in using your fresh pilot holes. Once your mount is up, check it once again for levelness — things can get off balance, even if you’ve been careful thus far.
You want to check before you move onto the last step — hanging your TV.
7. Mount the TV
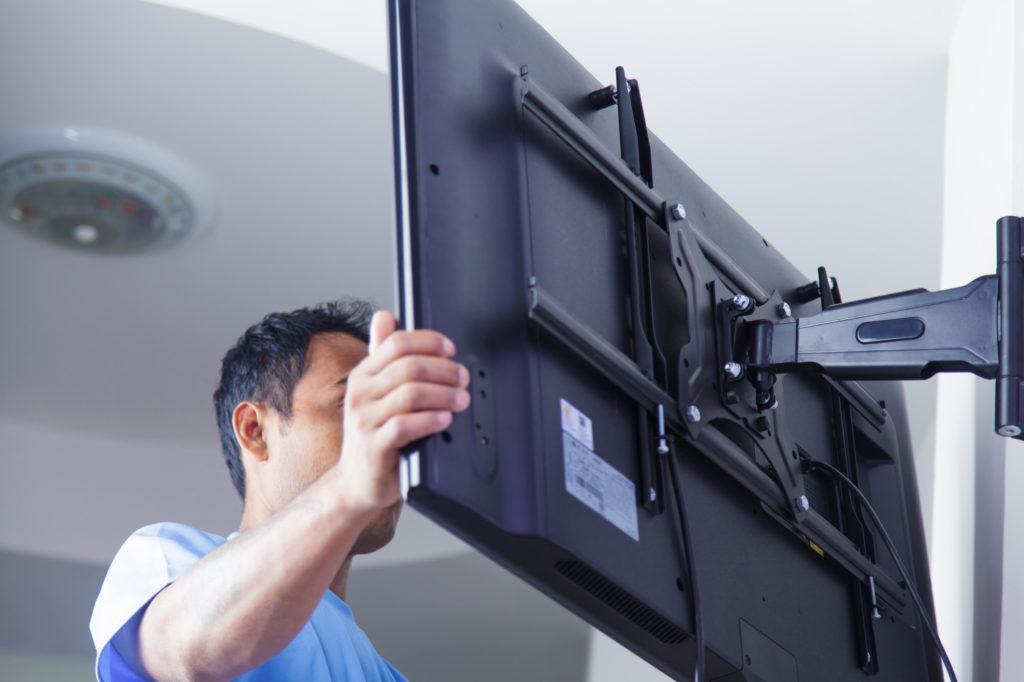
Your mounting system will come with a plate to attach to the back of your TV. Now’s the time to put that securely in place. Then, follow manufacturer instructions to hang the TV onto the wall.
Enjoy Your Video Wall Mount
Whether it’s an in-office display, an informational advertisement or a personal TV setup, you’ve now got the tools to create a video wall mount. So, start by brainstorming how and why you’ll use it. Then, you can hang the TVs you need to make that vision a reality.
We can help you on that quest — we have TV mounts for your home and professional setups. Contact us today to find the right hardware for you.


